Surgical guides planned by rule, not by memory.
BioPrint takes a CBCT scan and an intraoral scan and produces a 3D-printable implant guide. Every placement is checked against encoded clinical constraints, each one scored in writing — and a constraint that cannot be met produces a refusal, not a lower score.
How a case moves through
No manual CAD, and no step where a technician re-enters a measurement by hand.
- 1
Upload the scans
A CBCT volume and an intraoral scan. The pipeline reads DICOM or NIfTI, and aligns the two coordinate systems without a technician clicking landmarks.
- 2
Separate the anatomy
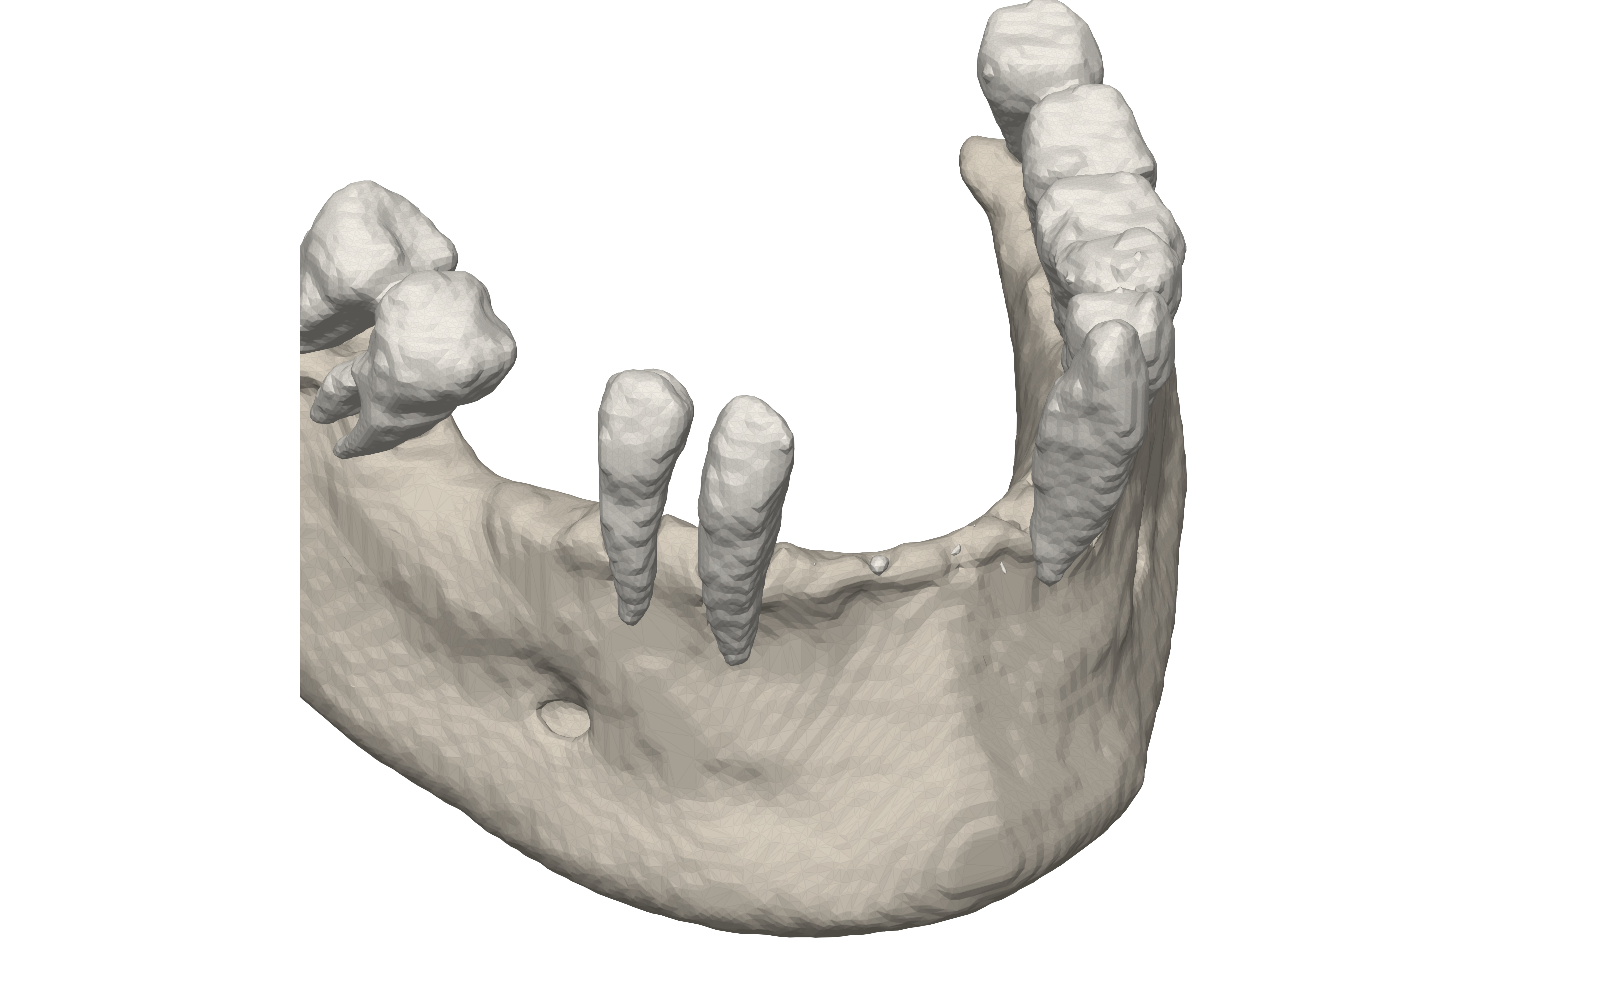
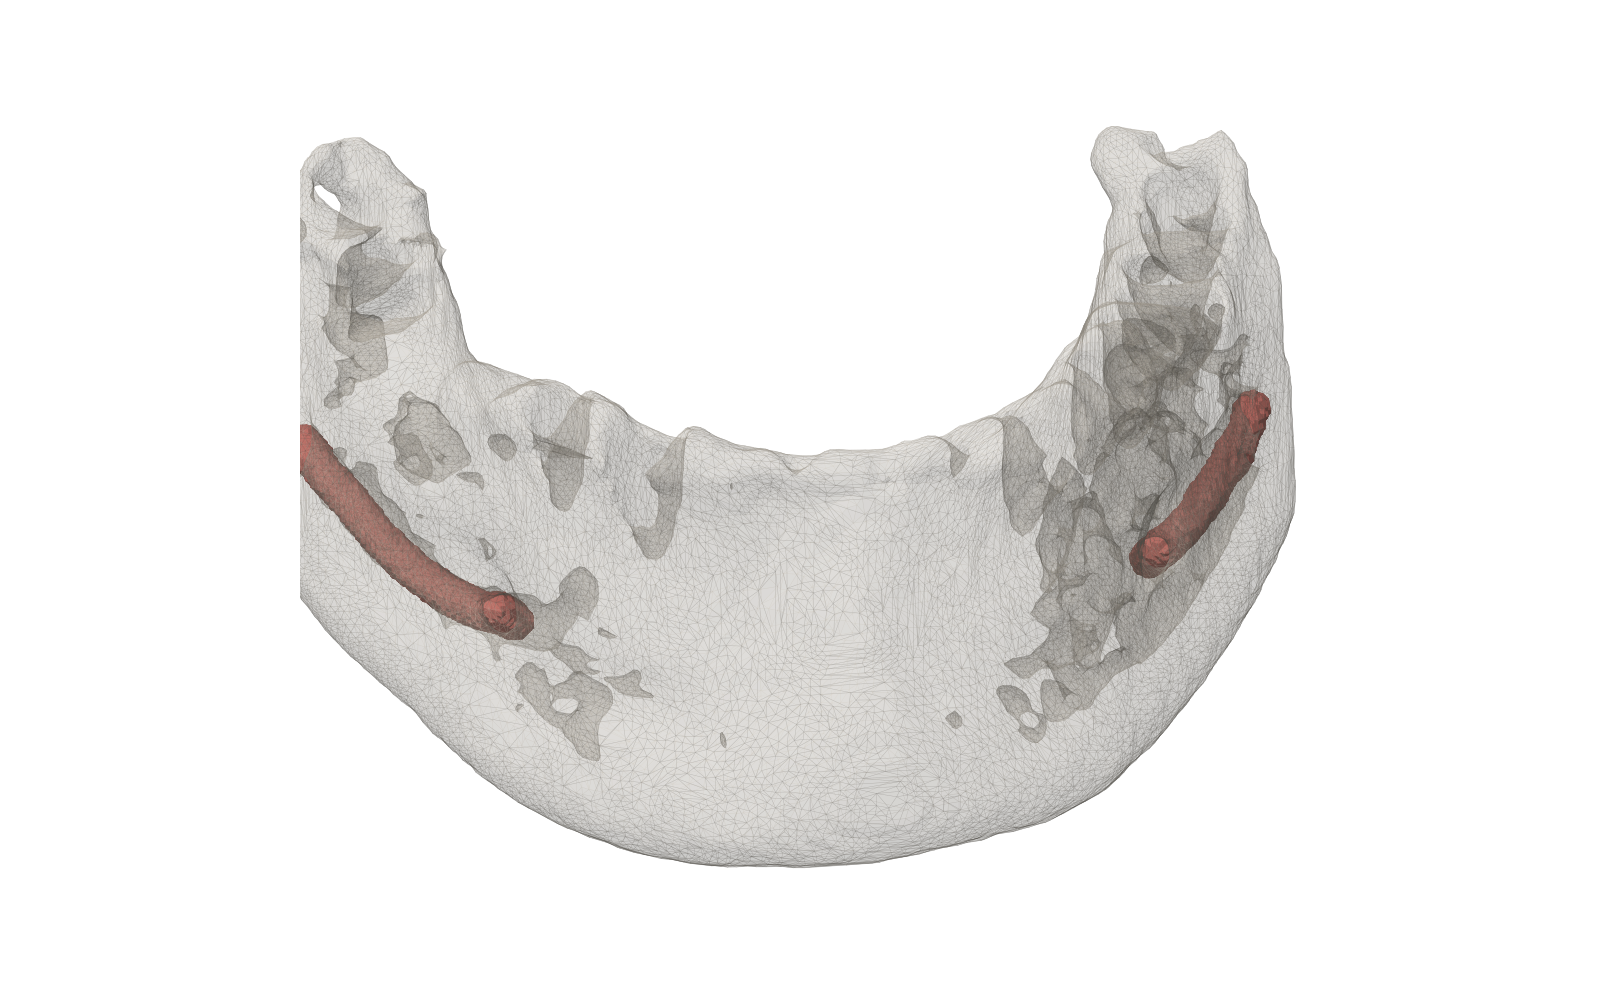
Bone, individual teeth and the inferior alveolar canal are segmented and exported as meshes — the surfaces every later measurement is taken against.
- 3
Search for a placement
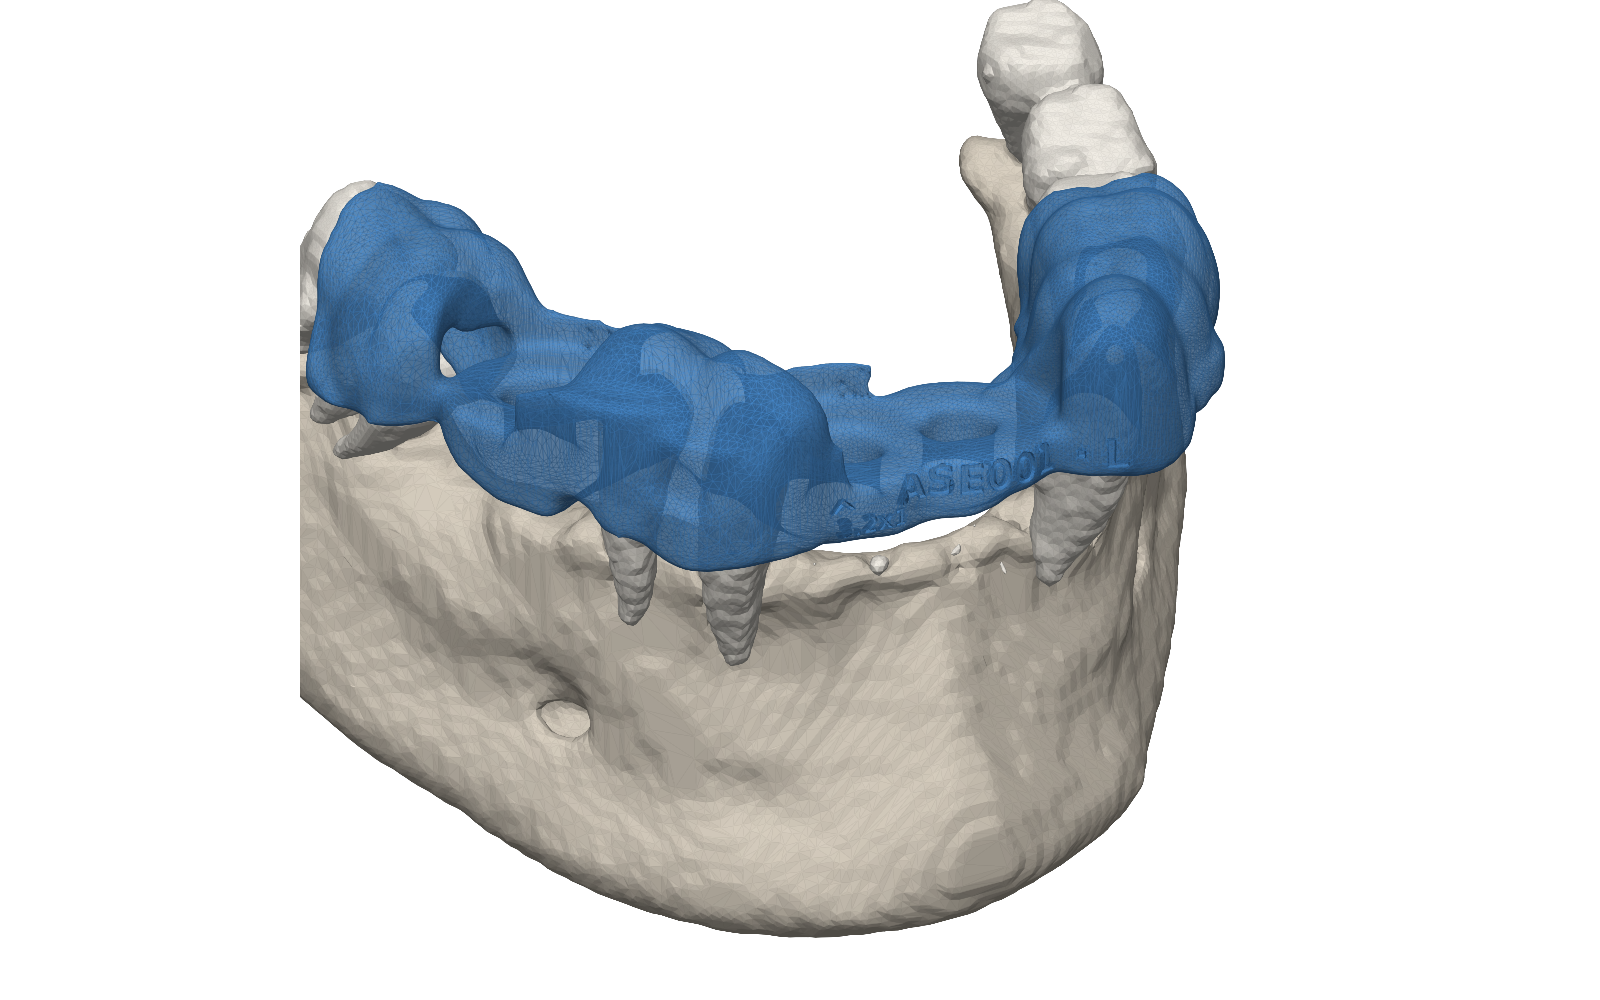
Position, angle, depth and implant size are searched together against weighted clinical rules, roughly 500 evaluations per site, and each one is scored.
- 4
Build the guide
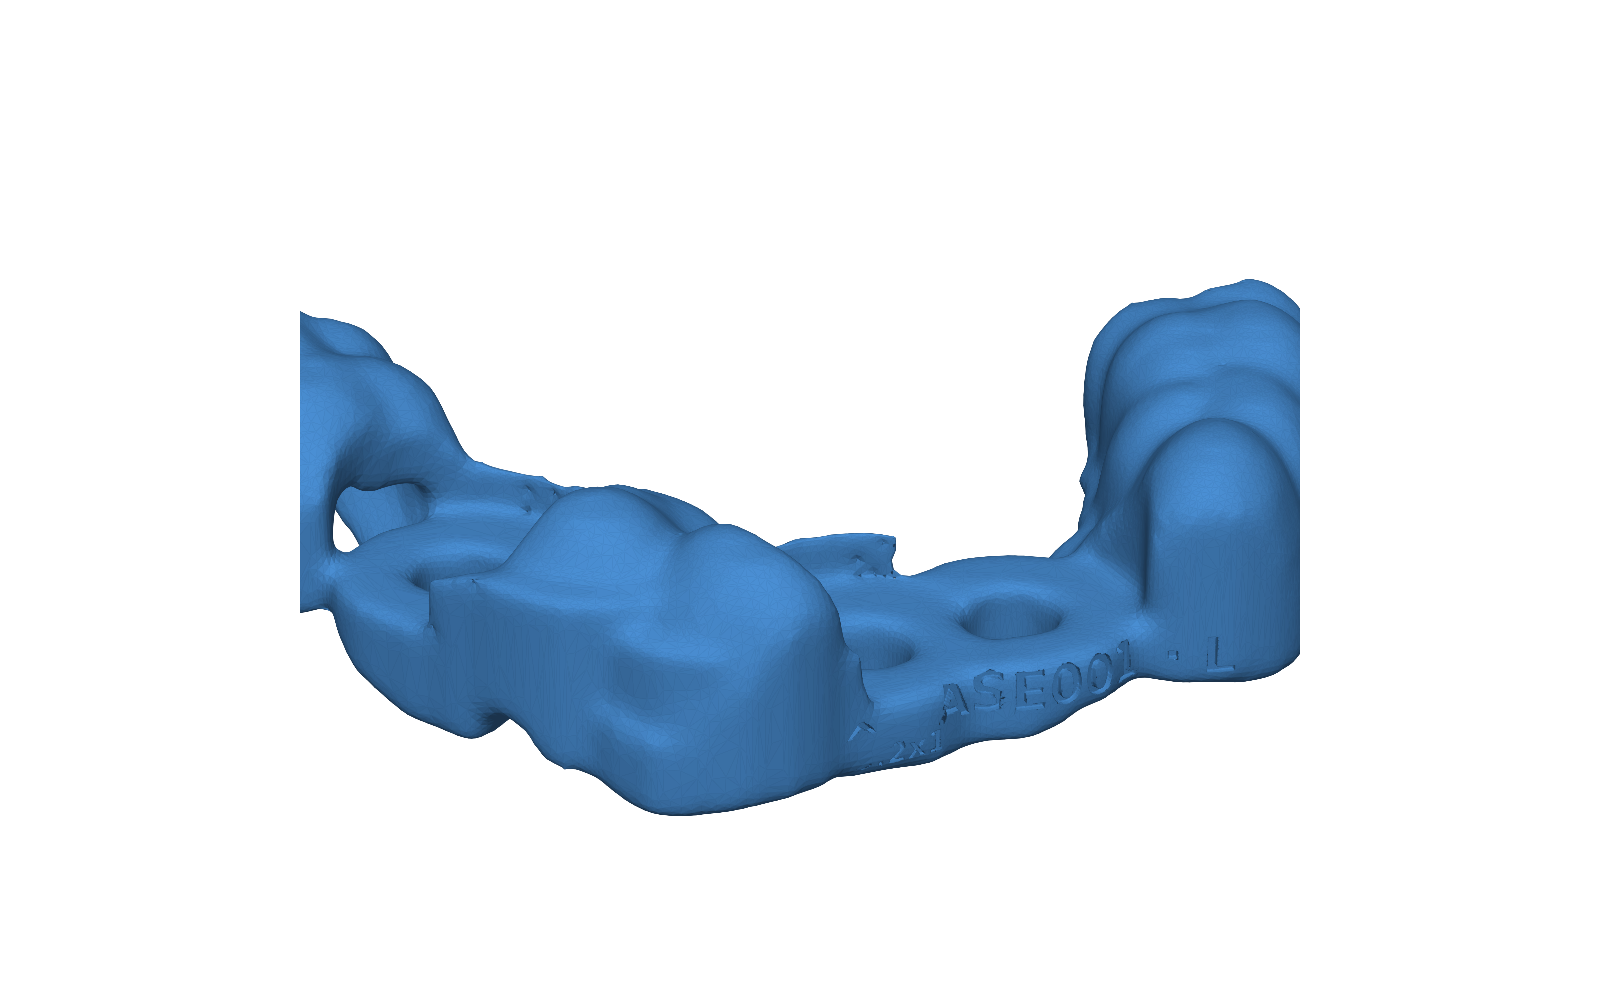
A printable guide is generated around the accepted plan: drill sleeves at the planned axes, a seating surface taken from the scan, and case identification engraved into the body.
The safety engine is the product
A technician applies clinical knowledge from memory — inconsistently, and leaving no record of what was considered. BioPrint encodes that knowledge as weighted rules applied identically to every case, and writes down the result for each one.
So a clinician sees not just where an implant sits, but why it was accepted — and which alternatives scored worse.
- Inferior alveolar nerve
- Distance from the implant to the traced canal, with the safety margin applied before scoring.
- Cortical containment
- Whether the body stays inside cortical bone along its full length, not merely at the apex.
- Bone quality
- Hounsfield density graded over the worst 2 mm band rather than averaged along the implant.
- Ridge centring
- Position across the ridge, measured against the inner walls — not proximity to the outer surface.
- Adjacent roots
- Clearance to neighbouring tooth roots and crowns, both measured separately.
- Parallelism
- Angular agreement with adjacent planned implants, so the prosthesis can seat.
Where the hours go
Measured against the conventional manual workflow, on the cases in our own library.
| Step | Manual | BioPrint |
|---|---|---|
| Segmentation | 2–3 hrs | ~30 sec |
| Implant planning | 60–90 min | ~2 min |
| Guide design | 45–60 min | ~1 min |
| Total | 2–4 hrs | ~5 min |
See it run on a real case
We will walk you through a case end to end — scans in, guide out, with the score for every placement on screen.
Request a demonstration